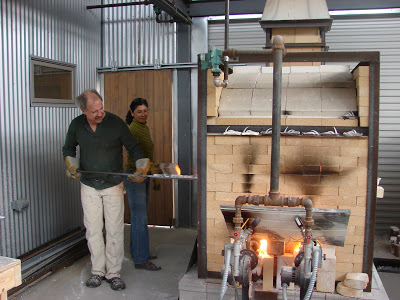
What a great picture of Donn and Betty on day 3 of our drive!
That was...let's see...holy wow! We've been here for 2 Fridays, now!
We left PA on Saturday, March 13th, drove all the way to Rockford, Illinois, then the next day made it to Sturgis, SD, and arrived early Tuesday morning around 1:30 a.m. the 16th.
I can't believe it's been almost 2 weeks!
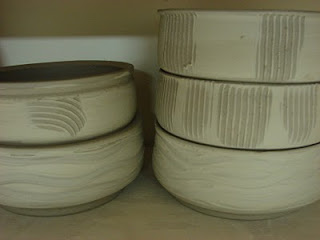
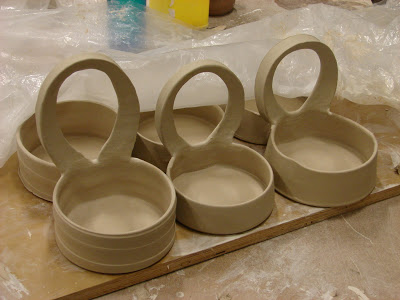 These are the new baskets for the cream and sugars!
Refine, Refine, Refine! Do you do that? Do you discover that one thing works better than another and go back and REMAKE the piece right away? It's a first for me. I usually say, "oh that works better than the other...huh... I'll remember it for the NEXT time." Of course, I forget!!! So, while I'm here at RedLodge, surrounded by such great work in the gallery and in the studio, I want to REMEMBER that it worked BEFORE I make 10 of the ones that didn't work.
Must be the elevation.
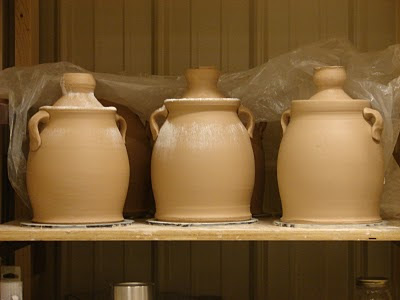
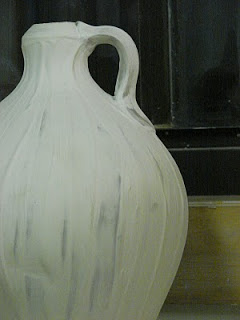
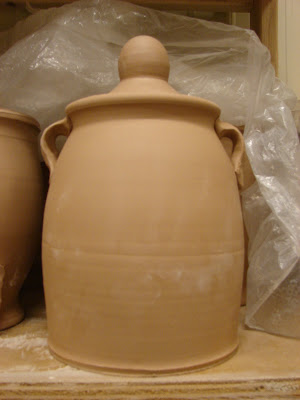
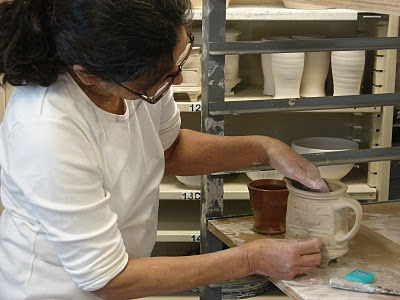
These 10" jars are made from 5 lbs B-mix and 1lb Death Valley, both
Laguna products.
I've been adding the handles to the body as the forms are wet, right on the wheel. It seems to add to the shape of these jars. I sprinkle corn starch on the rim of the lid and I can fit the lid right away! The corn starch burns out in the bisque, but keeps the wet clay lid/pot from sticking to each other. This allows for the lid to conform to the slightly out of round shape of the pot.
It's a great technique for fitting odd or irregular shaped pieces!
I learned this from Betty, and she attributes it to Jim Brashear.
Until tomorrow!


 We're having a bit of fun tonight at the studio, with a pot luck for everyone!


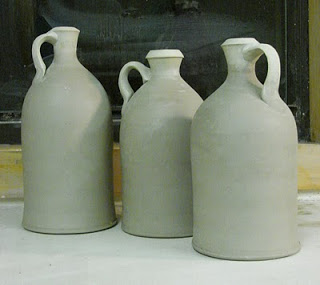
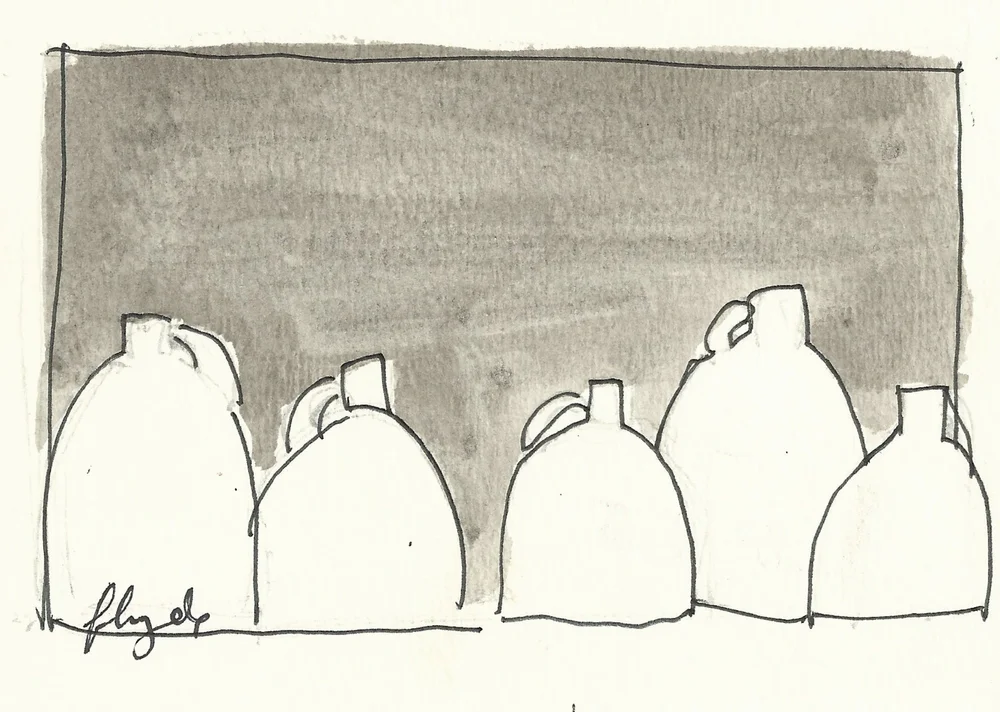
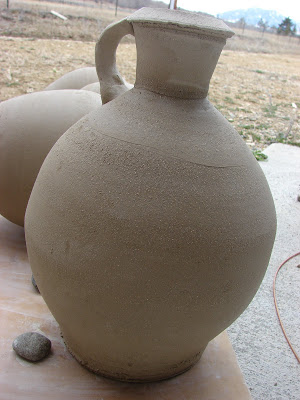
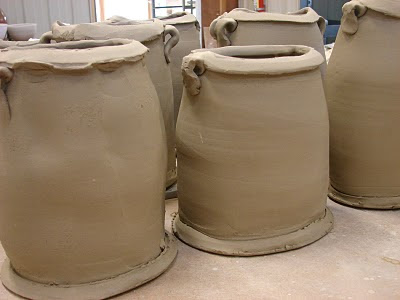
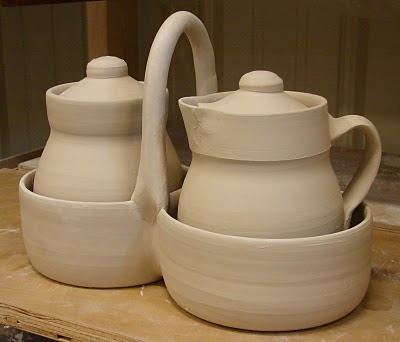
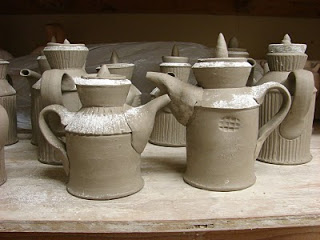
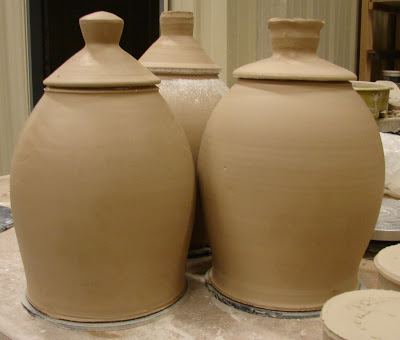 A few 10lb lidded jars that will get poked and prodded tomorrow. They stand about 14" tall. I think I like the one on the right with the higher shoulder and flatter lid...any thoughts? This type of lid, with the overhanging lip, is a little foreign to me. I usually drop a galley in the rim and the lid sits down in. (

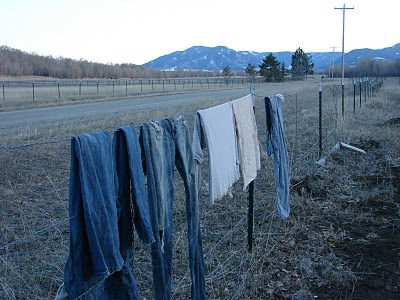
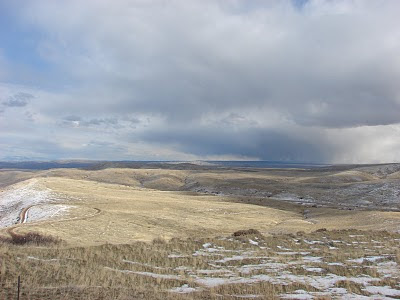
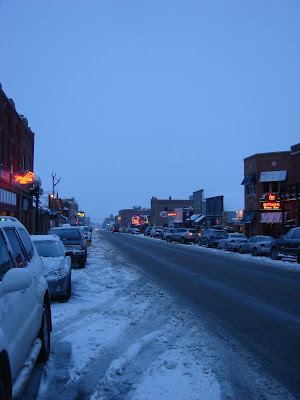
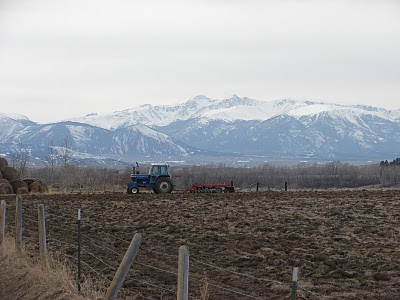
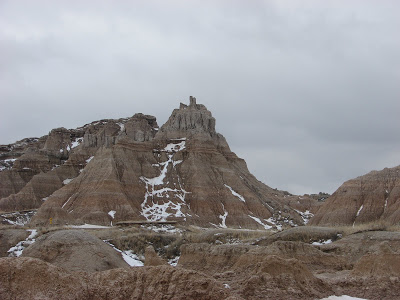
 above, looking northwest from US 120 in Wyoming.
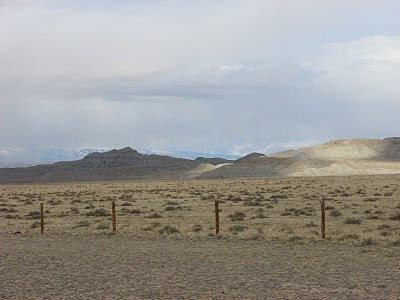


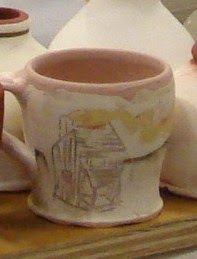
 A little cabin on the mug...
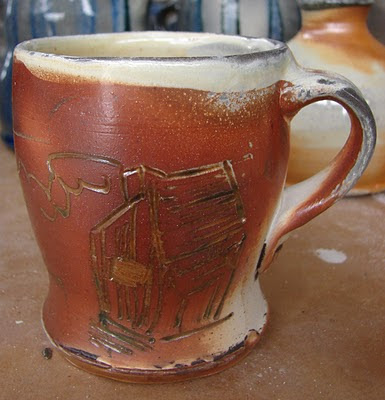

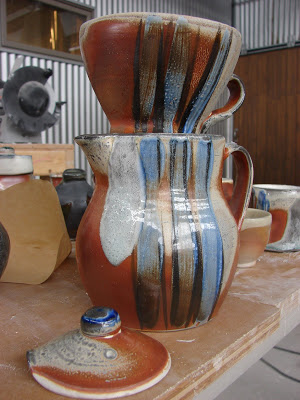


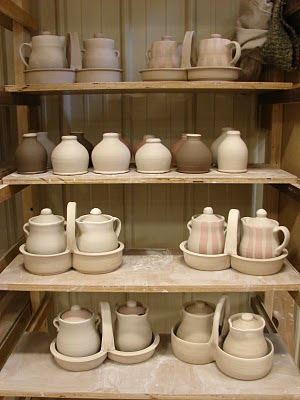


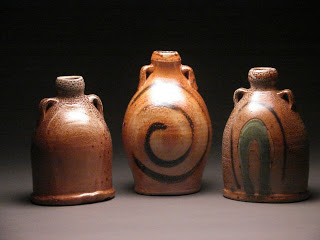
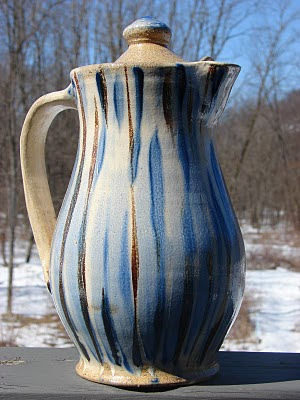
 Stoneware vases with poured flashing slip.