Images of mugs for sale, and other news

Hi all,

I know it’s been a while since a blog post, but here I am! I thought I might tell a little story about where and how I’m living these days, and promote some pots that I have for sale.


As some of you may know I’m living and working in Brasstown, NC where I’ve just started as the Clay Studio Coordinator for the John C. Campbell Folk School (link provided) I took a job here in 2019 as the Event and Volunteer Coordinator, helping to develop a volunteer program and taking over the annual Fall Festival, as well as a number of other events. Then, you know, COVID and 2020 and all that. In March we began working remotely here at the Folk School, and by June it was apparent that there would have to be some layoffs. Without the prospect of events for the remainder of the year, and with the school facing an 80% decrease in revenue, I was furloughed in July. AHHHHH!

Unemployed and barely settled here, I struggled with the next step, but through the generosity of locals and in combination with some part time work and federal funding I was able to stay on in Brasstown.

Soon enough the Folk School offered me another position for which I was well suited: The Clay Studio Coordinator. I’m happy to begin the position and help bring some life to the clay studio once the Folk School can safely open sometime next year.

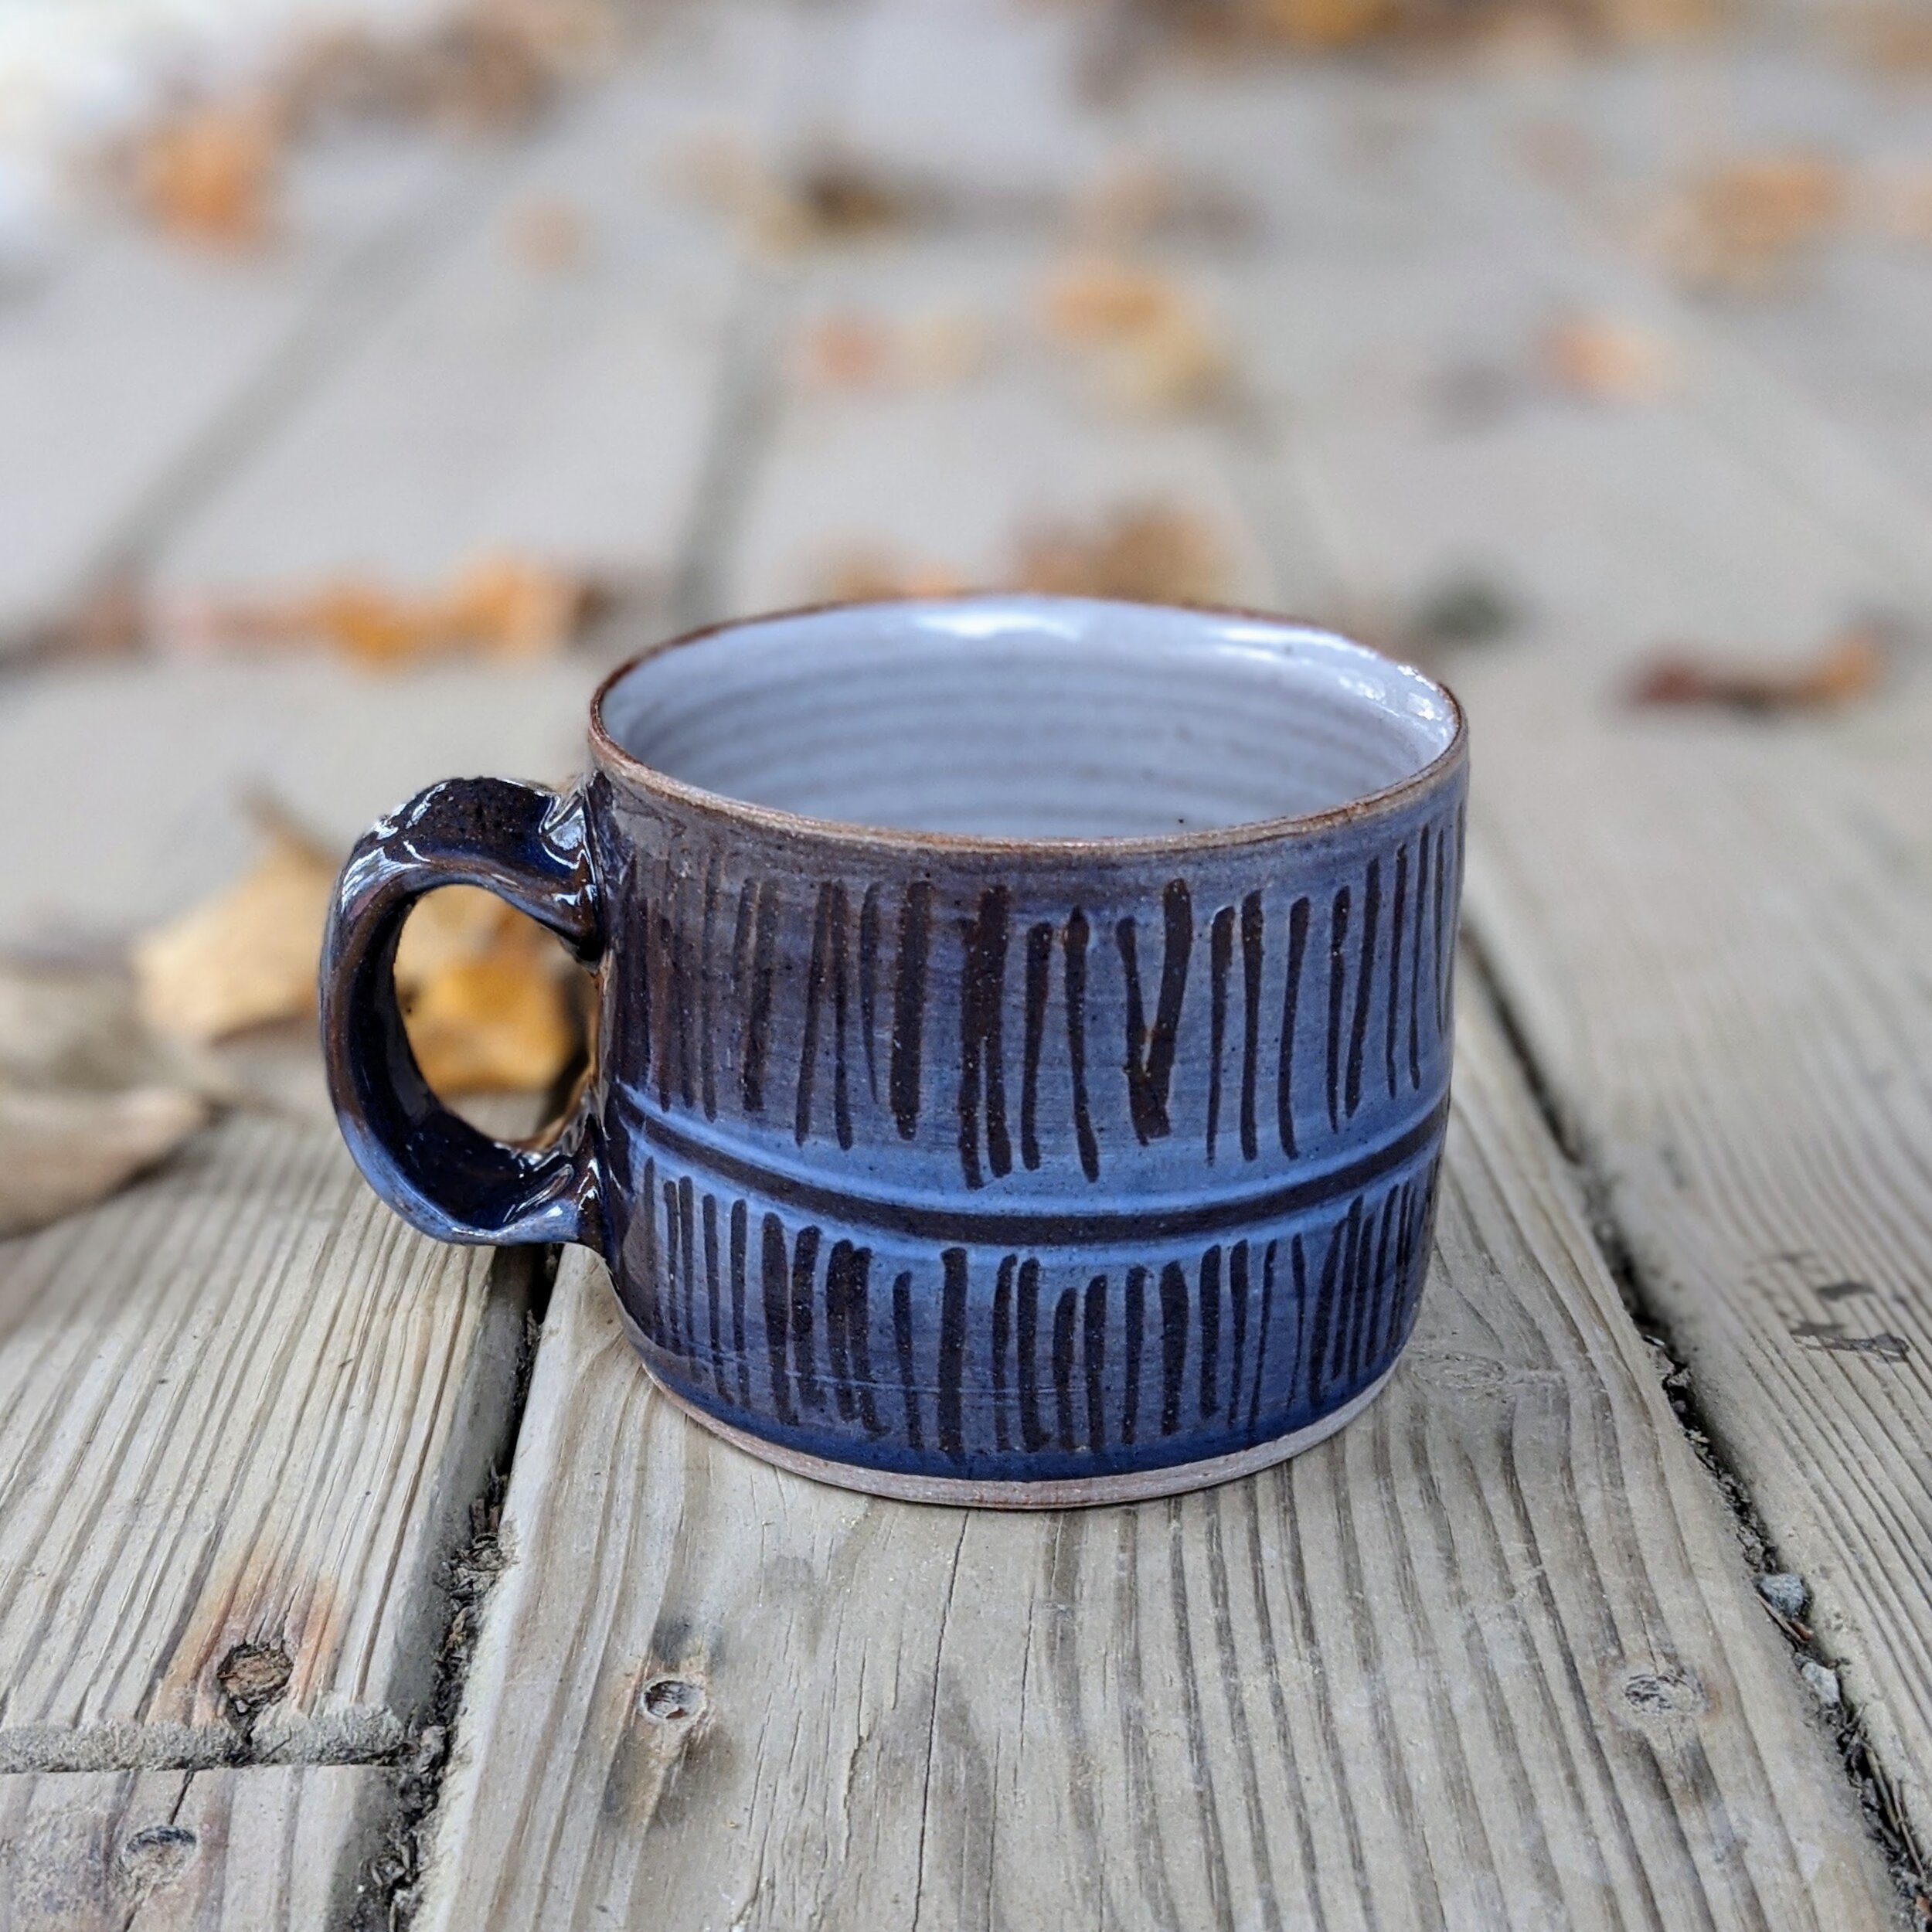
Because of all of this and in spite of my own struggles I have somehow found the bandwidth to begin making pots, and I’ve been sharing some of those pots over on my Instagram page. You can check in on me over there, see some process shots, and find out about work for sale. blessings to you all and i hope you have a safe thanksgiving!

Parkersburg Art Center Pottery Class

I know it's been a lonnnnnnnng time since I've posted to my Blog. 
Things have really changed in the last couple of years.
Anyway, I'll save you the details for another day, and skip to the business at hand!
I'm gearing up to teach a pottery class at the Parkersburg Art Center, in Parkersburg, WV.
I was hoiping to offer the class as sort of an alternative "advanced" class
but we will certainly accept beginners and advanced students alike!

Let me know if you'd be interested in the class, and I'll get you the details!
Or you can just click on the link to the Parkersburg Art Center!

Pots and process


 Somethings up with the ol' cybershot. It looks like I took this pic from a galloping horse.Ugh.
On a lighter note, I have been thinking about my next firing, and I was trying to get it going by early Feb. But alas, I'm not gonna worry about it. When I'm ready, I'm ready.

Process. I like it. Every part of my life is some sort of process, from heating the house and studio with wood (and carting it out of the tundra on an old sled), to making coffee: grinding the beans, boiling the water, plunging the french press...I love the steps.

It took me a while to get started back making work after the Indiana County Potters Tour. It was a process. ha. I spent time in the woods cutting trees and making clay, etc. But I wasn't in the studio. Working none the less, but not making work. Then the holidays came and went, and I could avoid it no longer. With no excuses left, and no weather for trudging around in the woods, it was time to crank up the wood stove, grease the wheel and kick away.

After a week or so of throwing, the pots get better which is something I often forget. By the end of a cycle of pots, when I'm loading the kiln, I'll load in a pot that I've already moved beyond, an idea that came and went, an idea that I worked through or a form that could/should/would be made again, and more successfully. This firing, I'm going to give myself the time to return to those forms.

Keep in touch and I'll do the same.

Seeing the Forest for the Trees...


We had a couple of days of sunshine earlier in the week, which allowed me to gather up some windfall limbs around the property here in Brush Valley. It’s been a cold and snowy winter so far and I’ve been burning through the wood. So when we get a little break in the weather and some of that snow melts off, I like to get out in the woods. It gives me a chance to see the forest for the trees.

I realize how blessed I am to be here in the country(thank you Betty), living such a simple life. But it is very isolated and I really didn’t think I’d be here by myself. Occasionally I have to remind myself of why I’m here. Getting out in the woods helps.


Another post soon, and I’ll tell the story of how I ended up here in Brush Valley, but for now it’s back to the studio.

Red Lodge Part11: Cody images

Back on March 16th we made the last leg of our 3 day journey from PA to Red Lodge, late at night, drifting into town from Cody, Wyoming at around 1:30am. I was driving that night, and had no idea of the beauty that lay behind the dark as we sped through Wyoming and into Montana. Until yesterday! We made a day trip south on US Highway 120, retracing the route from that last night, down into the land of Buffalo Bill. I was just awestruck by the beauty! These photos, of course, do no justice to the majesty of what we saw. Though I was apprehensive to take a break from the studio, we all needed it, and I'm glad we went!
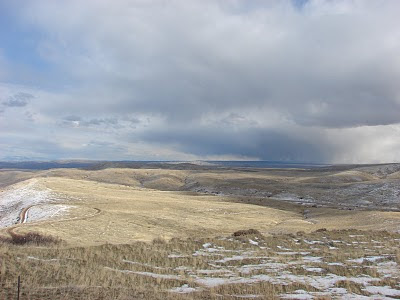
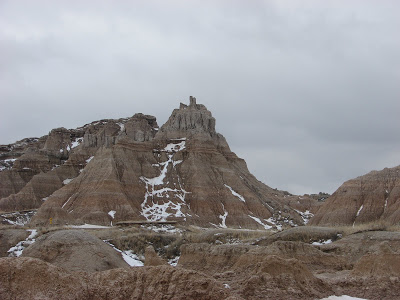
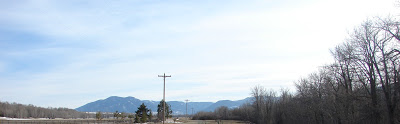
above, looking northwest from US 120 in Wyoming.
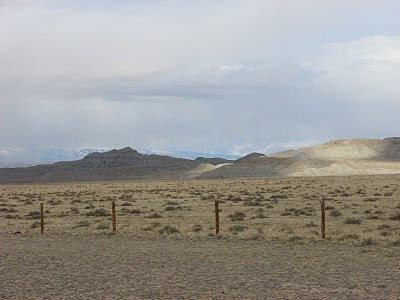
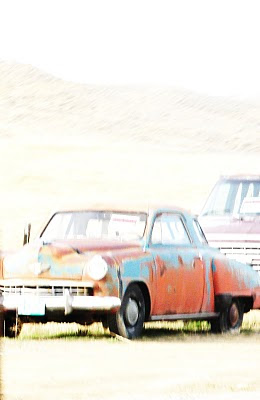
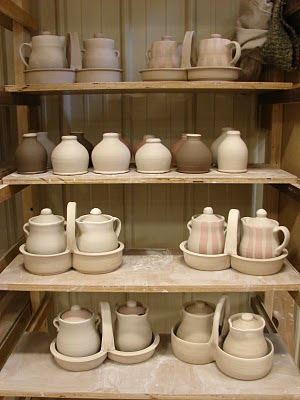
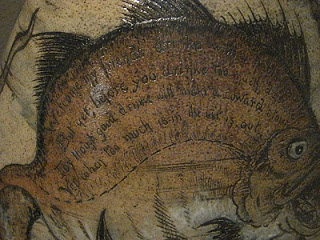
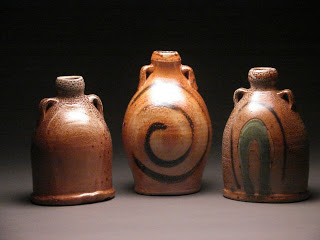
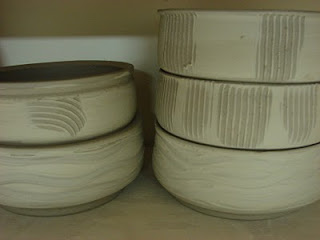
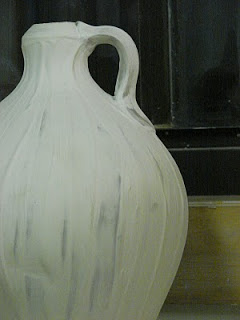
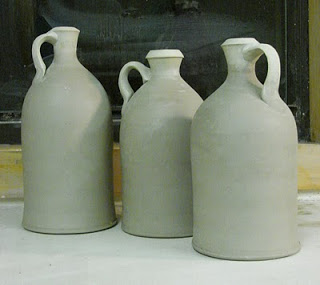
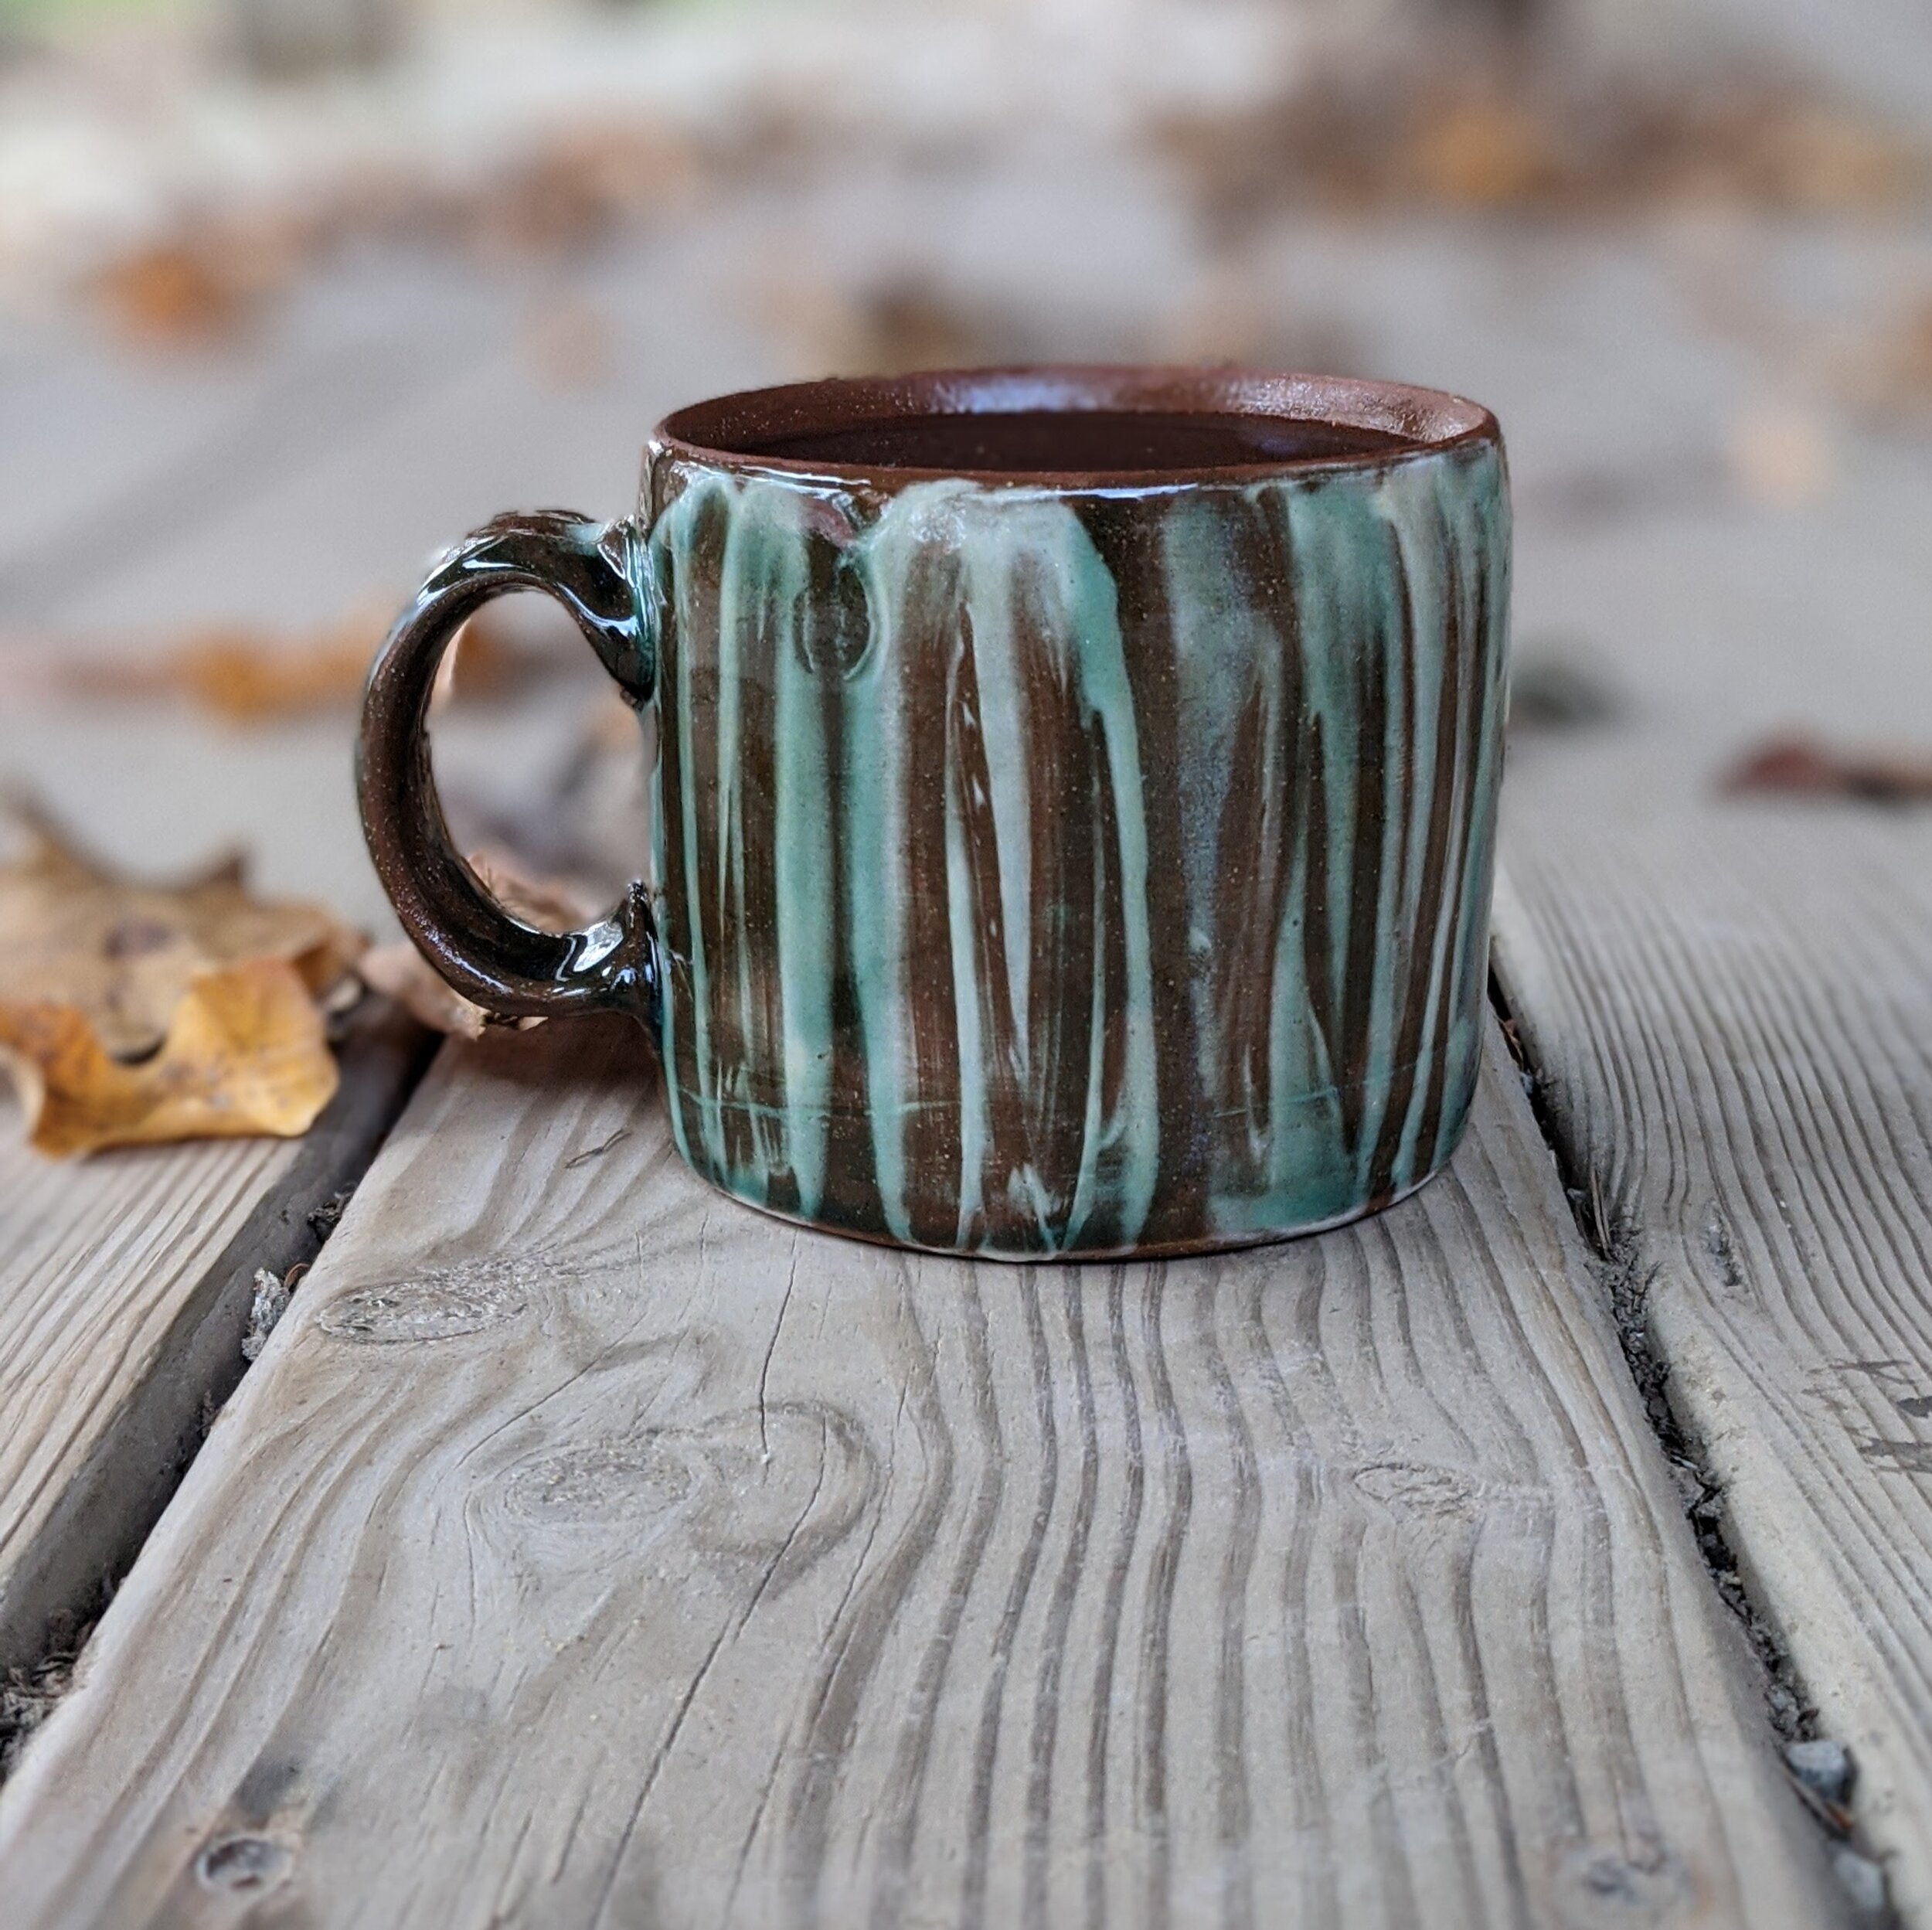
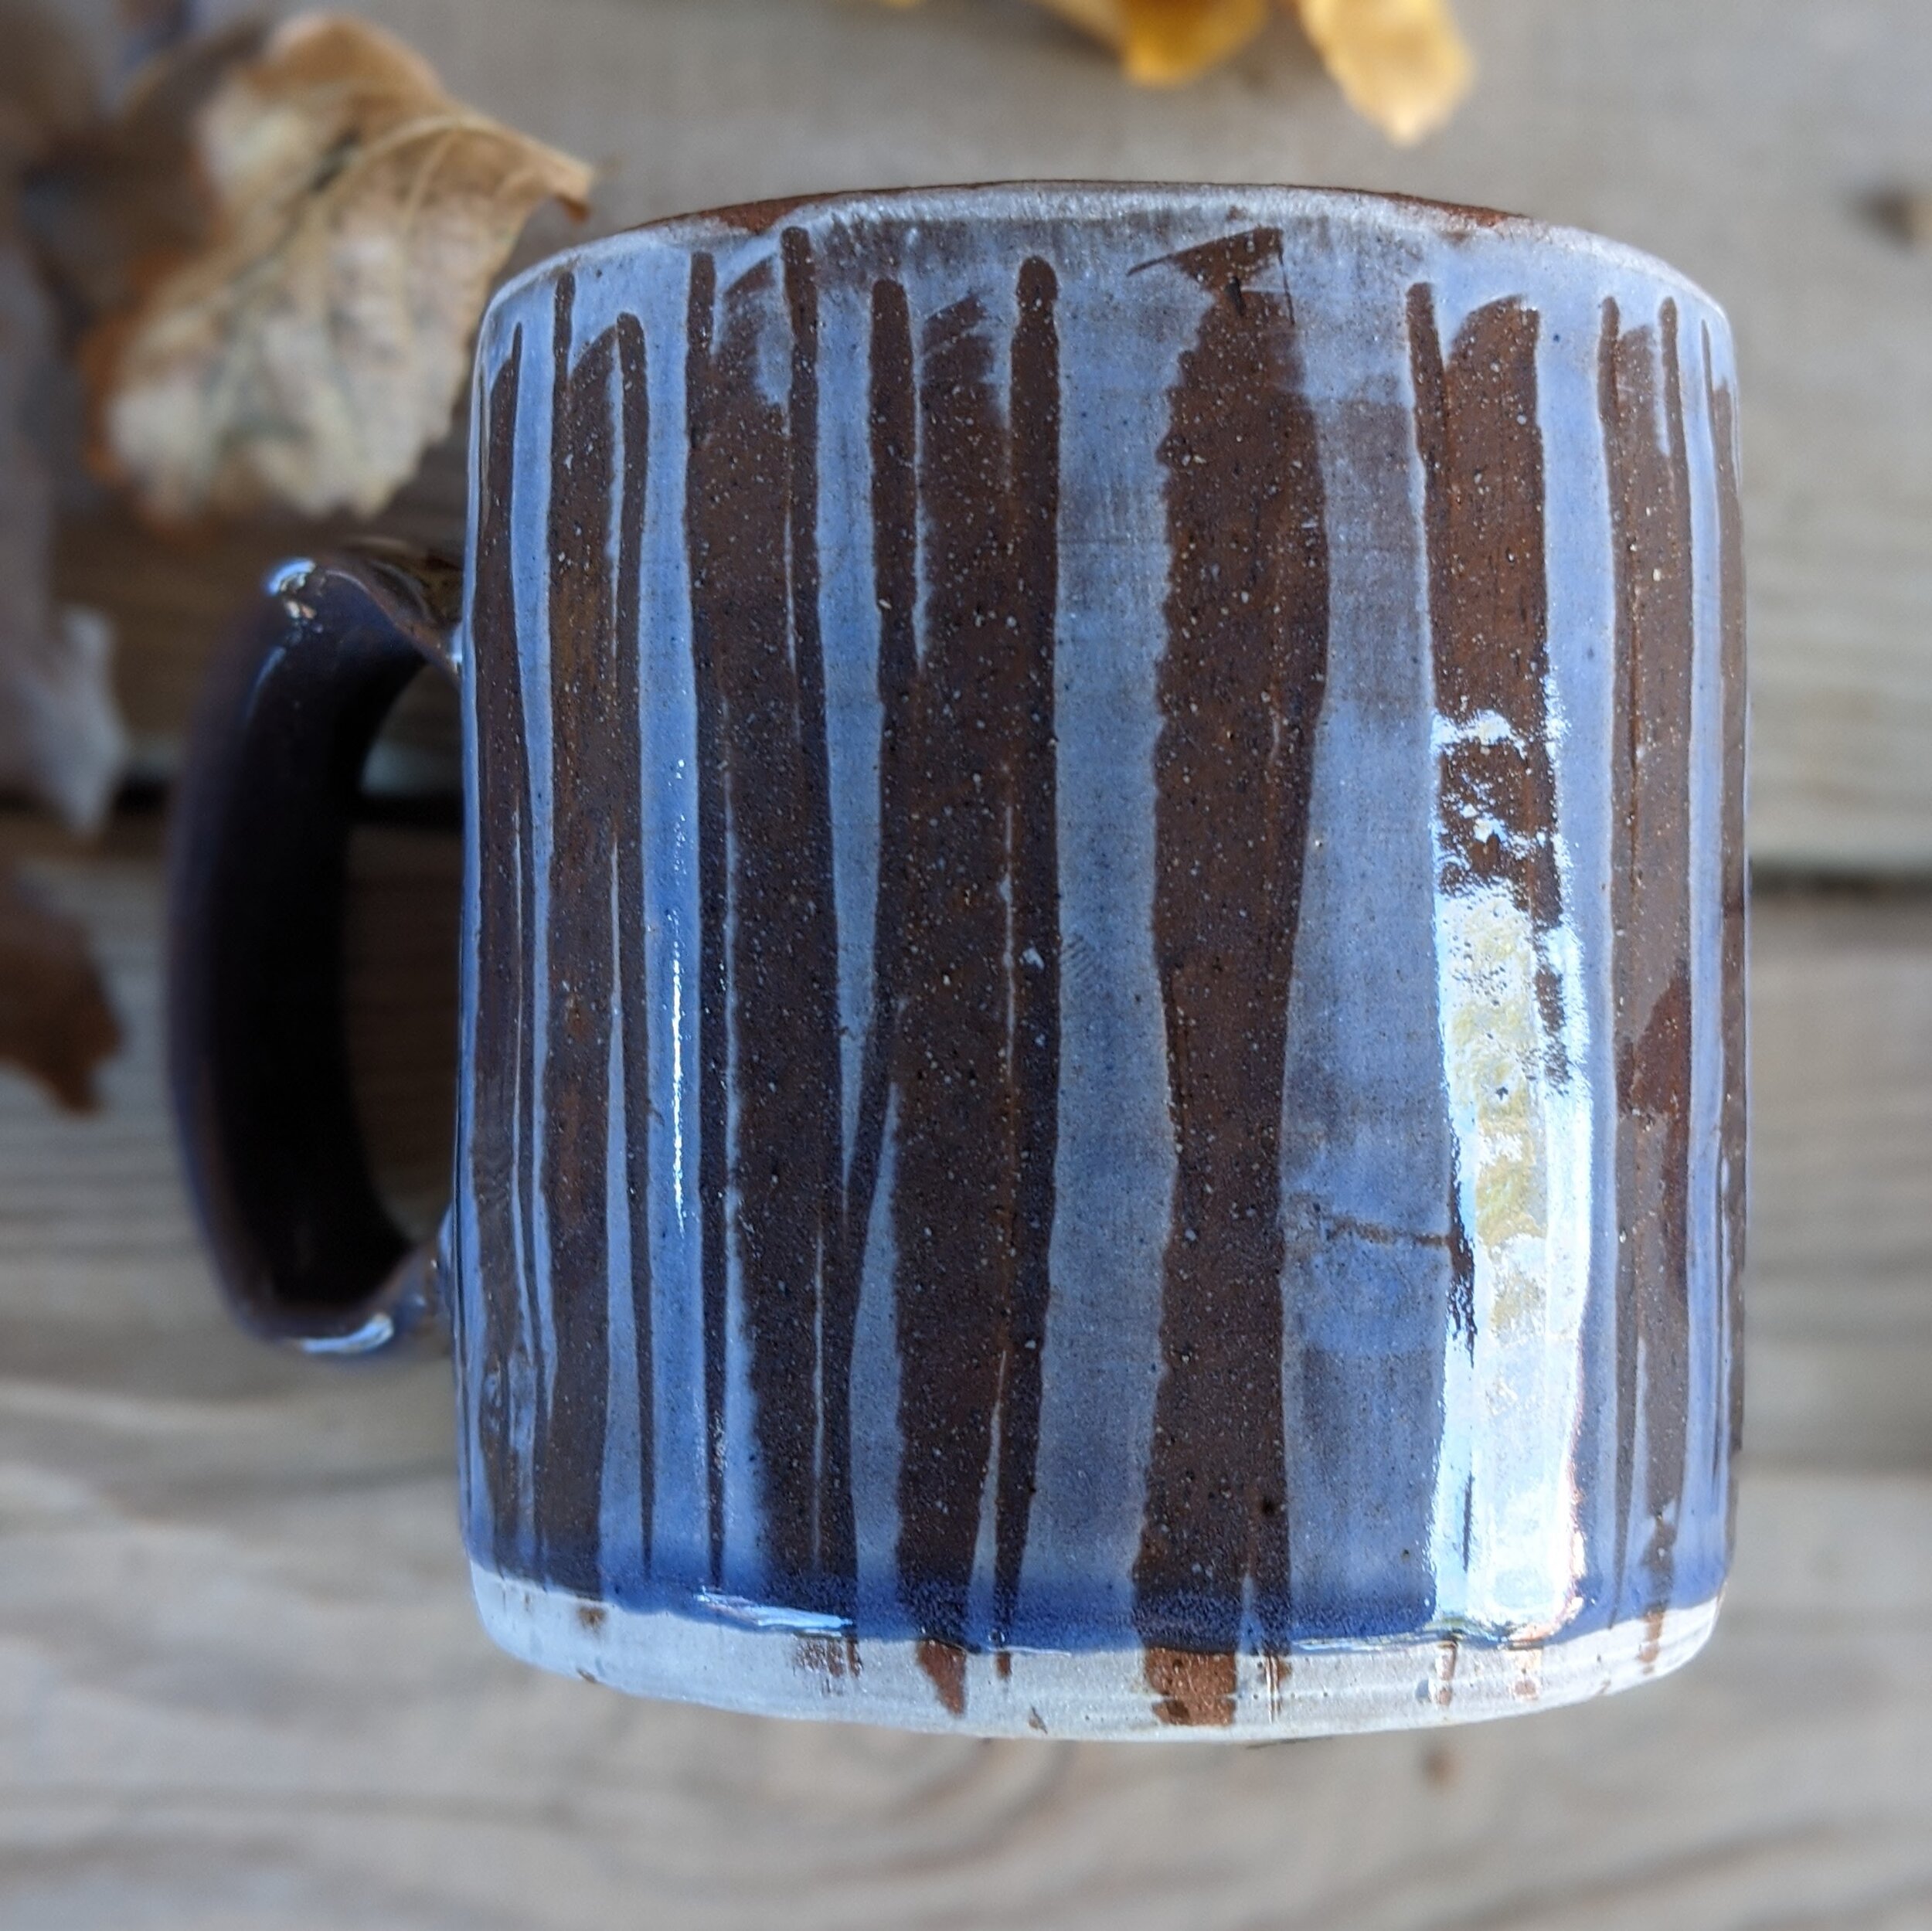
above, looking southeast coming home from Cody. I was struck by the similarity that the southern side held with The Badlands.
above, image taken near Belfry, Montana.
We stopped near the crest of the hill just south of Redlodge. This is looking back down toward Bearcreek, Montana, on US 38.
We got back to it today, and we'll be making our last push towards firing the train kiln.
Best to you all!
Cheers!

Red Lodge Part 4

A view of Rock Creek behind the studio from a walk I took on Monday.

Some green peaking through the water.
A few pictures from the days events!
The 5 to 6" creamer and sugar sets aren't quite done, but here is a picture of them with colored and flashing slips. I made 3 more baskets today and will get handles on the new ones tomorrow.
I settled on a thinner rim for the baskets that seems to echo the rims of the pitchers and jars.
I like the set in the bottom right hand corner of the photo above,
though I'm still tweaking the handle!
These are the discoveries we get to make when we slow down a bit. It must be the elevation.
The 4 inch bottles will get trays too, made from the Death Valley dark stoneware.
See you tomorrow!

From PA to MT!

Here we are! In Beautiful Montana! This is as far west as I've been and I can't explain how incredible these Mountains are! For those of you who don't know, I was invited to come to
Red Lodge Clay Center by Donn and Betty Hedman. We will be here until April 15th making work, and will have an exhibit of our work opening April 9th.
Don't worry, you won't have to come to Montana! The show will be available online!
We left PA loaded down with pots, pottery making tools, and all kind of other things on Saturday March 13th and arrived unscathed 3 days later.
Badlands National Park, South Dakota, day 3 of the drive.
We saw three National Parks/Monuments that day, and arrived in Red Lodge around
1:30 am Tuesday March 16th .
Devils Tower!
South West view of the Beartooth National Forest from the Red Lodge Clay Center studio,
6 miles out of town.
Lidded Coffee Pitcher with matching Melita!
I have always wanted to make these, and now I have 6 of them in the works. We'll load our first bisque this week and fire the soda kiln early next week!
Until next post, cheers!

Moving right along...


This bottle was fired with my friend Scott Cornish, in his 2 chambered train/bourry box/cantenary arch wood/soda kiln west of Slippery Rock near New Galilea, PA.

These bottles were gas/salt fired back in 2008. They are the reason I keep returning to the
flask form.

fresh thrown bowls, drying on the ware cart.
Bisqued bottles await firing. Wood, Gas Salt or Reduction. So many choices.
I have been returning to a couple of successful forms. This time last year I was in the same space and things feel familiar. This time of year I end up making pots that relate to what's happening, like beer tankards, whiskey bottles, jugs, big soup bowls and bread plates. Aint much to do round here when the weather turns sour, except eat, drink and make pots...I think I'll stay.
The white slip on the bowl forms are a version of
Val Cushings S O T:
30 Grolleg
20 XX Sagger (the original called for EPK)
20 T-6
30 Custer
I wanted to see what ball clay would do to this slip. I've used it in/on all kinds of pots and firings. Though it tends to peal away from pots when you brush it on a leather hard pot, I have had success with dipping and pouring it on leather hard or brushing/wiping it on wet pots on the wheel. It has worked quite well on plates with shell flashing. The substitution of ball clay in the recipe may affect the flashing affects. The flashing comes from the high alumina content of the 70 percent kaolin slip(and the atmosphere of the kiln), but I'm thinking the changes will be minimal. I'm hoping the ball clay will aid in leather hard application. Time will tell, as we'll be firing soon. I've been using SOT on half of the work, including some pots I'll fire with a celadon or tenomoku glaze in reduction. The slip will fire white under a clear or glossy glaze.
The flasks(5 of the 12 I made) have been bisqued and are ready for a fire. They were made with a light firing stoneware and then dipped in a slip made from Laguna's B-mix for cone 10. My friend Donn uses B-mix, and orders it dry in 50 lb bags, so I'm trying it as a slip. All in due time.
I will most likely gas/salt fire this work here in Smicksburg. I hope to keep a few for other firings, as I've posted before.
Well, that's enough for now, I hope. Stay warm!


Jugs


Here are a few new pots in process. I've been working in the downstairs studio of Donn Hedmans pottery near Smicksburg. Donn has graciously offered me space in his super nice studio with a beautiful view. I'm making plenty and bisquing work for future firings. Out at Brush Valley, I don't bisque, so I thought I would store away a few dozen pieces that I can take to other folks firings in the coming months.
As for this recent work, I've been trying to hold back on my urges to use the colored slips and linear decoration that I usually include in my work. I struggle to not over decorate forms such as these jugs. The shapes, hopefully, will stand alone.
I have return to this form over and over through the years. I have always been intereste in historic jugs and the change in their shapes that trace the development of the industrialization of clay manufacturing. The closer you get to the 1900's, the flatter and straighter the jug shapes become. The more graceful forms of previous centuries leave wasted space in a kiln where the bellies meet and can be difficult forms to make. The early American jug shapes reference their German and English counterparts, with full bellies, long graceful necks and and a narrow foot.
I am also searching for relevance in these forms in today's day and age. How do these jugs fit in to contemporary life? Well, maybe they don't and maybe that's EXACTLY why we need them. These simple containers echo a time of simplicity. Not necessarily an easier life, just different and simpler. I hope I'm not stuck in the past but I think those folks made some nice jugs.
Wishing everyone Happy Holidays over the coming months...


Post-firing Firing post...

It has been a few days since my last post so this one is going to be a long one...all about the salt firing I just finished monday morning at 3 a.m.! This was the 6th time I've fired the kiln here in Brush Valley and the 3rd time for mostly rawglazed pots. For some of you who aren't potters, this means that I glaze the work when it is leather hard, using slip glazes that have a large amount of clay in the batch recipes. The clay in the glaze allows the glaze to shrink with the pot as water evaporates during the drying process. It can be tricky and most people choose to bisque fire their work and then glaze, but out of necessity, with no electric/bisque kiln here in Brush Valley, and the fact that most of my work only needs a liner glaze, I use this process of once firing. Once the pots are dry, it's time to load and fire.

Mugs tumblers, soup bowls and plates, lidded jars
and pitchers.
The firebox extension worked out great
for preheating the greenware/rawglazed pots.
I loaded it up with large cherry and oak chunks,
clammed it up and went to bed around
4am. At 8 am I returned to find
coals still in the box and started the firing...


Without a Pyrometer to gauge the early
part of the drying process
I used this chimney
thermometer for a wood stove.
I need it for the beginning of the firing
to make sure nothng blows up at the point
where the water left in the pots
starts to "boil" or evaporate...


Toward the end of the firing we used the flame
to stoke off of and had a nice,
even firing of cone ten down.

Heres a picture of the kiln shed and flame coming
from the chimney. As soon as the flame went in, I
stoked again, and the flame lasted abut 1 1/2 minutes per
stoke. This temperature(nearly 2400 degrees) really ate up the wood!

I hope to post pics of the finished results soon! Dont forget about the potters tour! Can't wait to see you all here!

47 not 50

Well the Earthenware firing wasn't a complete disaster, but I've had better...The liner glaze acted up quite a bit, bubbling and looking either over fired or under fired in places...It may have been a thickness thing or the fact that I used it on greenware...Ron usually bisques everything. The planters and silverware strainers turned out great! Not enough salt in the kiln, either. So, next time I might just leave out the glaze ware and just do all planters...

For now, I'm speeding along to the next cone 1o firing, hopefully loading on Saturday and firing Sat night and Sunday. Sorry again, no pictures, but stay tuned as I'm taking plenty of pictures, I just can't upload them...I'm working on it! 

Well, back to the 47 mugs I have to put handles on...yeah, I know, 47? Why not 50?

Woodfired Earthenware?


I've finally been in the studio after catching up on the outdoor chores...they say to make hay while the sun shines...so I've been making pots while the moon shines.

I'm almost ready to fire up the wood kiln with an earthenware salt glaze firing! I'll fire somwhere between 1800 to 2000 degrees...I was inspired to try this technique over the summer while helping Ron Meyers with his workshop at Penland. Ron fires a wood kiln down in Georgia to earthenware temps. I think there are some subtle colors that will show up nicely in this temperature range.
During second session at Penland, I worked with Ayumie Horie who also uses earthenware. I loved her clay body and brought some home with me. I've taken to combining Ayumie and Ron Meyers clay together, about half and half, both of which were mixed by Highwater Clays in Asheville, NC, and using this mix to make the large planters shown above. The planters shown above were made using Daniel Johnstons Thai style construction technique. They'll be stacked rim to rim in the kiln. The sizes range from 12 inches in height to 18 inches across the top rims. These are some of the largest pots I've made...
I'm making a few cups and some other functional pieces and hope to test some glazes and slips in this firing. I ought to be ready to fire sometime soon! I am really excited to try something new! It keeps things fresh!

If you're interested in helping or just seeing the wood fire process, just let me know!

Here are a few recipes I'll be using for this firing...Thank you Ayumi
Modified Clay c/02 ---3 o’clock
OM 4 Ball Clay 10
Redart               70
Goldart              20
Frit 3124             3
Barium                0.25
Bent                    2
Kyanite (fine)      5

White Slip c/02
OM4 Ball Clay   36.1
EPK                   18.1
Neph Sy               3.8
Frit 3124            25.8
Zircopax             13.8
Buttercup #6406   1.4
Gray #6572          0.24
I'll post Ron's clay body and liner glaze as soon as I find it...

Stacked...


I've been starin down this pile of wood ever since I returned from Penland. After a little help with the wood splitter and some weed eating, I was ready to get this stuff up out the mud.

Glad to be done with just shy of 2 chords of firewood to keep me warm this winter in the studio...It's time to sharpen the chain saw and start all over...I've noticed the days are getting shorter and I want 5 chords by October.


I'm heading to Fairmont this weekend...
...Ya'll enjoy this weather!